Adding a case in Nook:
To manually add a case:
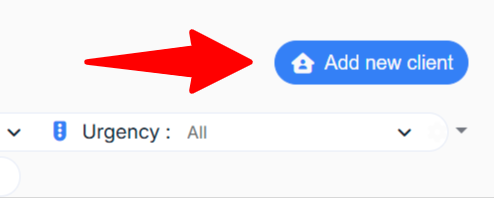
In the Case Overview or Waiting List screens, click the Add new client button
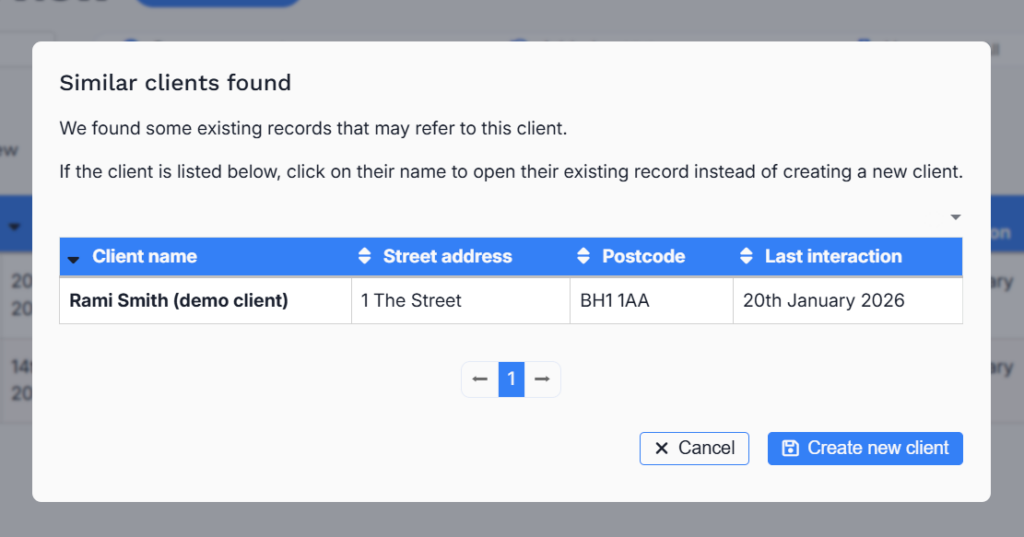
Enter the client name and which Project they are associated with (if known). You may get a warning of the existence of similar cases. If so follow the case link to check it’s not already on the system.
(FYI merging duplicate cases is possible using the core CiviCRM system, but it’s outside of the scope of this article)
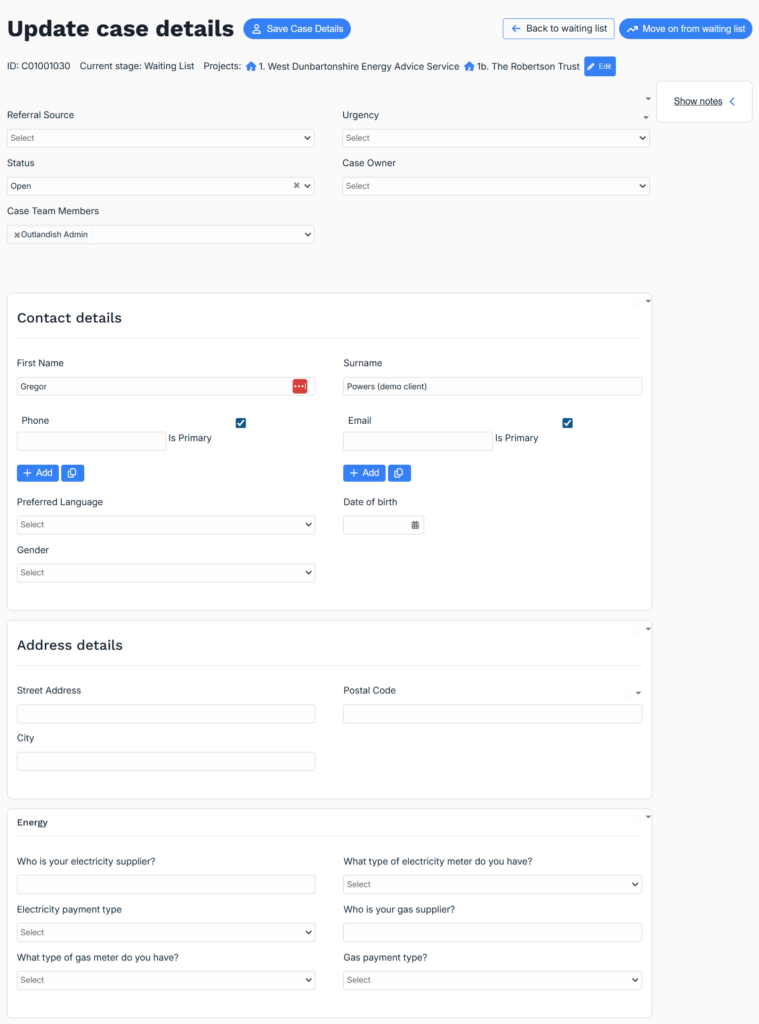
After adding the client’s basic details (name and project) it should:
- create the case in your Waiting List
- open the Update Case screen (below)
A note on receiving cases from referral forms
In your setup you may also have 1 or more referral forms. E.g. for a client to self-refer, or a partner to refer clients. These will have been built for you during the initial setup.
- New cases submitted via a form will appear in your Waiting List.
- Data submitted via the form gets added into the related case record fields as per usual.
Editing a case
After you have added a case (or if you’ve clicked a link to a case record) you’ll see the Update Case screen. Now you can populate any extra case data (e.g. address, property information, energy information etc).
When you edit a case you’ll see that case data fields have been organised into various tabs, e.g. address, property & energy information etc. The groupings are controlled in Settings -> Data collection.
Add or edit data as you require, based on your Data Collection setup, and when you have finished please remember to Save any updates before leaving!
Moving a case out of the Waiting List, into the main workflow:
After triaging a case with your team, you’ll want to move it out of the Waiting List holding area and into your main organisational workflow.
Go to Waiting List -> [the case record] -> Move on from Waiting List button. Then choose which Step to move them into.
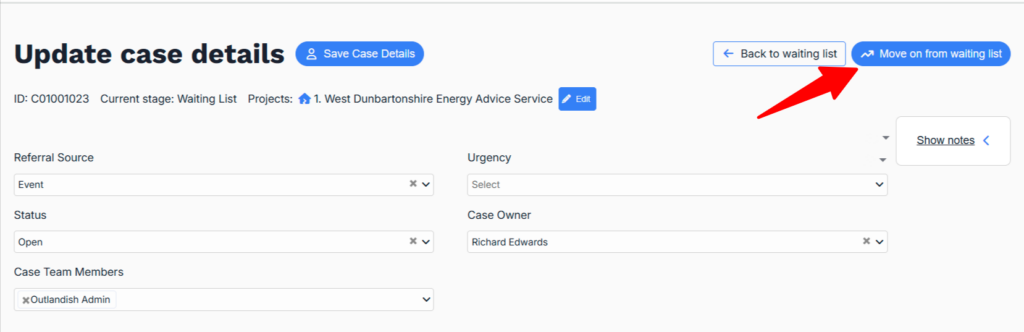
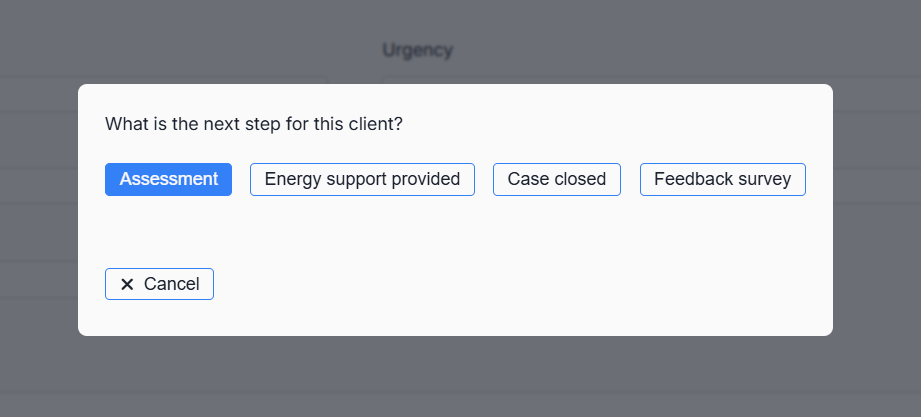
They will now disappear from your Waiting List and appear in the correct Step in your main case journey.